


Enabling a NexusDB ServerEngine to load .NET extenders
The NexusDB InterOp Extension pack contains a TnxInterOpMonitor. Adding support for .NET extenders to the server is as simple as adding an instance of this class to the server, hooking it up to the ServerEngine and recompiling the server.
In this article however we will build a very simple embedded application in Delphi to use with our Extender, because it shows much better what is actually behind the scenes when you drop a the TnxInterOpMonitor on a form and hook it up.
Note: The NexusDB .NET Edition will ship with a server binary that has this monitor and a User Interface to load and unload extensions already fully integrated. You can thus you skip this step.
Creating an Embedded Server Application in Delphi
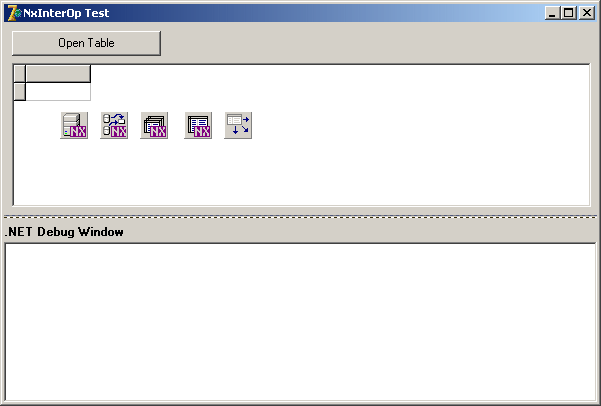
Open Delphi and create a new project. Add one each of TnxServerEngine, TnxSession, TnxDatabase, TnxTable and TDatasource components on the form, hook them together, and enter a valid database directory and table. Add a TDBGrid and connect it to the TDatasSource. We also need a TListbox (which we will use for displaying information), and a TButton. Your form should now look similar to this:
Then add an OnClick event to the Button like this:
procedure TForm1.Button1Click(Sender: TObject);
var
lMonitor : TnxInterOpMonitor;
begin
// Create the InterOp Monitor
lMonitor := TnxInterOpMonitor.Create(nil);
lMonitor.AttachTo:=[natCursor];
lMonitor.ServerEngine:=nxServerEngine1;
lMonitor.Active:=true;
// load the assembly, instantiate and initialize an extender
// (leave it commented out - we look at this a bit later)
{ lMonitor.AddAssembly('NexusDB.Test.nxTestExtender', 'ChromeExtender',
TnxListBoxDebug.Create(ListBox1));}
// open the table
nxTable1.Open;
end;
Compile, run and make sure the table opens and displays in the grid. Everything is now ready on the server side - let's build the actual extender.
Questions? Problems?
- Interested to buy but something put you off?
- Can't find what you're looking for?
- Have a suggestion?
Let us know. If you're having trouble contacting us, please check here.


Site Updates
- May 27 2025 - 2:55pm
- May 14 2025 - 12:32pm
- Mar 19 2025 - 9:52pm
- Mar 14 2025 - 11:23am
- Mar 13 2025 - 11:42pm